If you’re looking for a cosy garden retreat, why not save money and transform your shed?
Once just a storage solution for your garden tools, with insulation you’ll be able to enjoy the extra space all year round. And, you’ll even prolong the life of your garden tools by preventing mold and rust!
Heat can escape from all areas of your shed – the walls, doors, windows and even flooring. We’re going to share the materials and tips you’ll need for insulation your shed.

Why should I insulate my shed?
Whether you’re using your shed as a workshop or as your gardening hub, a well-insulated shed is a must. Transform it into a more useable space by protecting yourself from the elements!
Preparation is key!
Before your start insulating, you’ll want to check over your shed to make sure it’s dry and waterproof. Empty the contents and have a close look for any gaps or damage. Don’t forget about the roof, too! We advise using a wood treatment to keep your shed in great condition. Ensuring there’s no damage makes sure that your insulation will work at its best.
Top tip: Remember that in order to properly insulate, you’ll want to be as accurate as possible with your measuring, to ensure there’s no gaps. “Measure twice, cut once”, as they say!
Walls
Now you’re all prepared, we’ll start with the main focus of your project: the walls.
Once you’ve covered the walls with insulation, you won’t be able to access the wood behind it, so we advise treating the wood to keep it in good condition. A solvent based preserver absorbs in the wood better, but water-based preservers are easier to use.
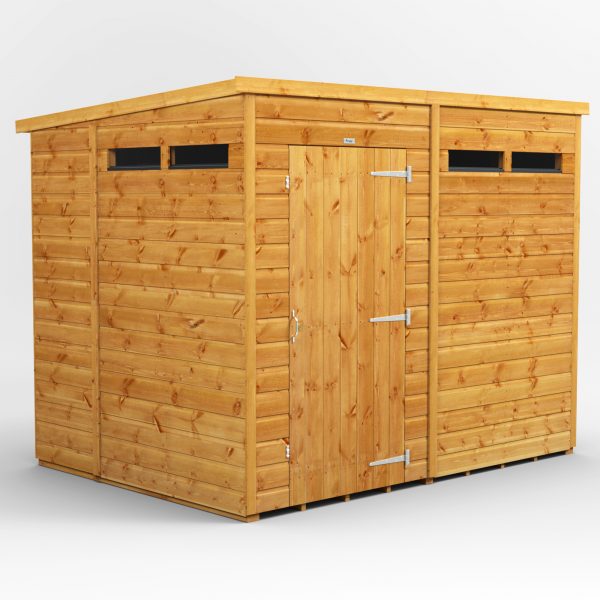
Of course, what you start with influences how thick your insulation will need to be. The wall cladding on our sheds is 12mm tongue and grooved shiplap.
It’s advisable to use a breathable membrane between the shed wall and any insulation to help improve air circulation. It also helps to prevent damp!
There are many different options for insulation materials. Whilst bubble wrap is a cheaper alternative, it’s not as effective and increases the risk of a fire hazard if you have electrics installed. (We don’t want your shed to be quite that warm!)
Instead, consider using fibre-glass wool, foil backed insulation or layers of insulation boards. Depending on your budget and the size of your shed, you can decide which option will be best. Finish by fitting plasterboard over the insulation panels.
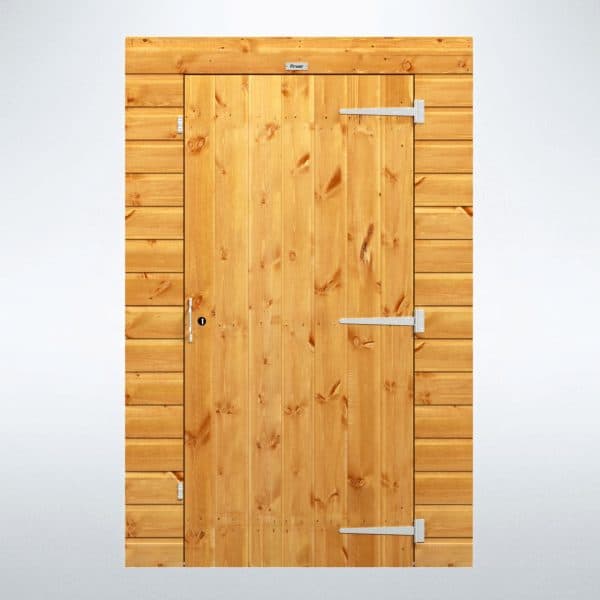
Doors and Windows
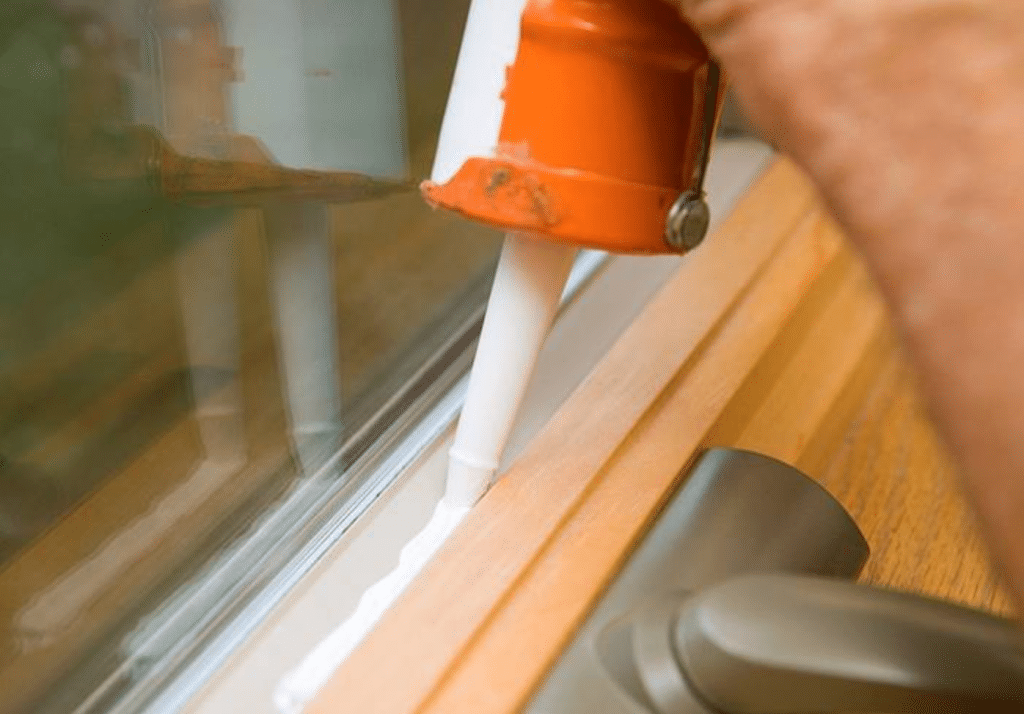
Any small gaps in the doors or windows of your shed will let heat escape and spoil your hard work insulating the walls.
For the windows, seals up any gaps with a durable sealant. Double glazing keeps the heat in, so consider upgrading your windows. We offer glazing kits and toughened glass upgrades.
Adding rubber strips to the inside of the door frames is an easy way to seal any gaps and limit drafts. You could also buy a draft excluder for the bottom of the door.
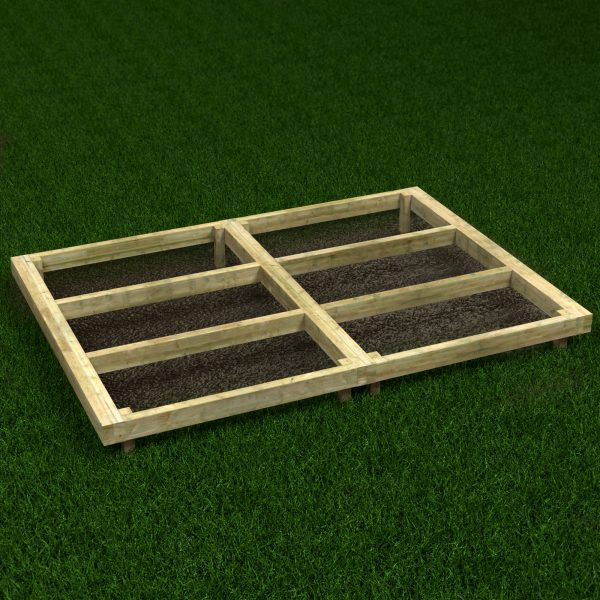
Floor
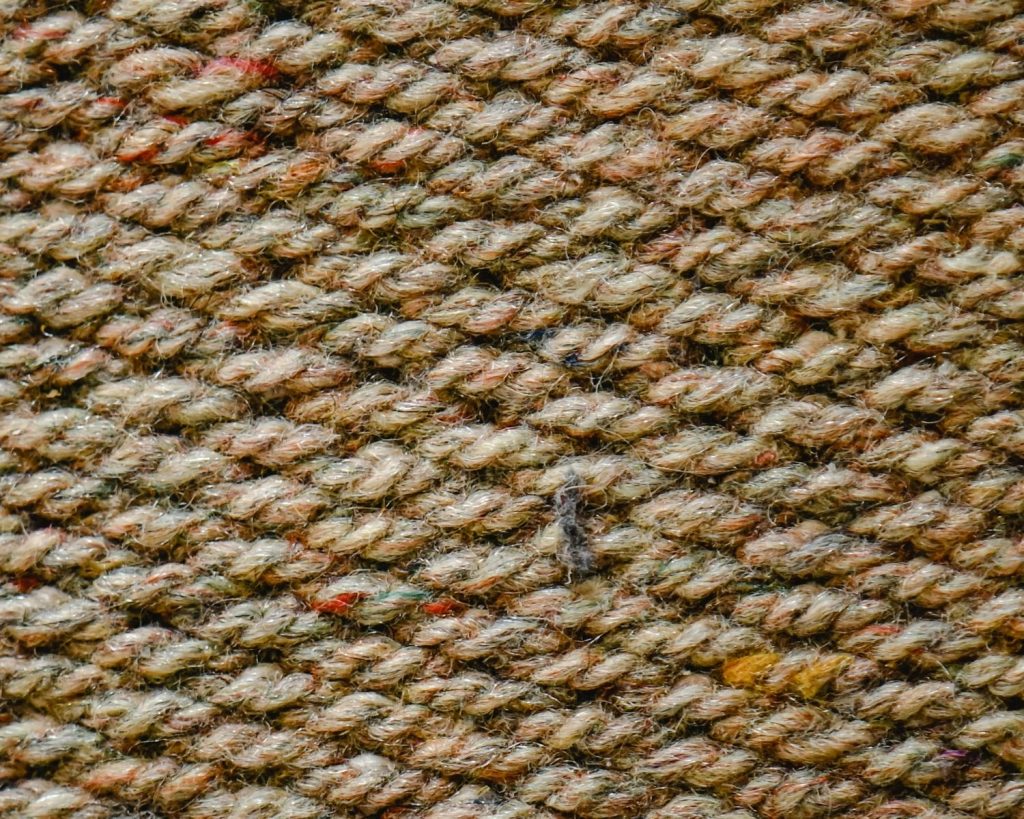
Last but not least, the flooring is often forgotten when insulating a shed. But don’t worry – it’s the easiest step!
Simply lay down rugs or sections of carpet to prevent heat escaping through the floor. If you’ve been doing any DIY projects at home, this is a great way to recycle off-cuts of used carpet and give them a new life.
With these steps, you’ll have a cosy, insulated shed in no time!
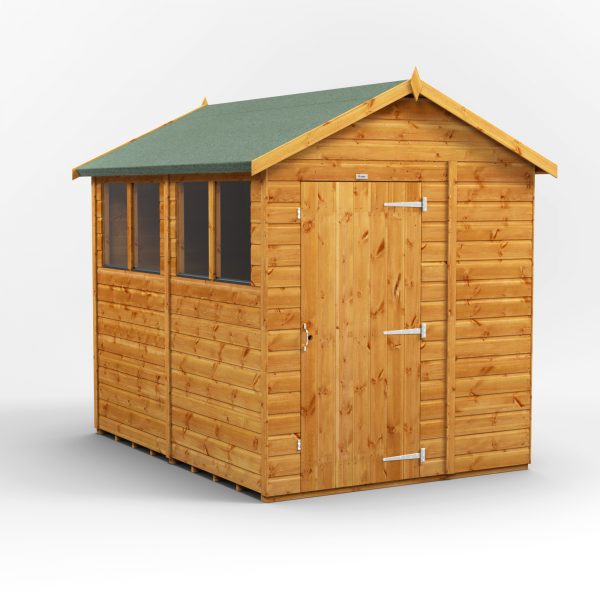
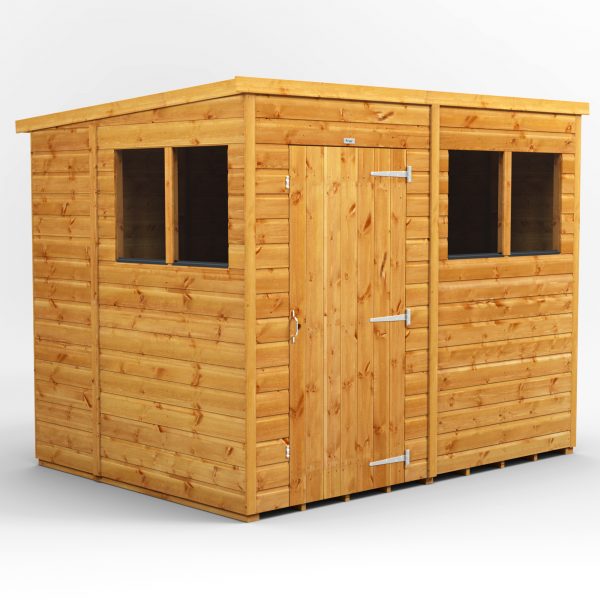
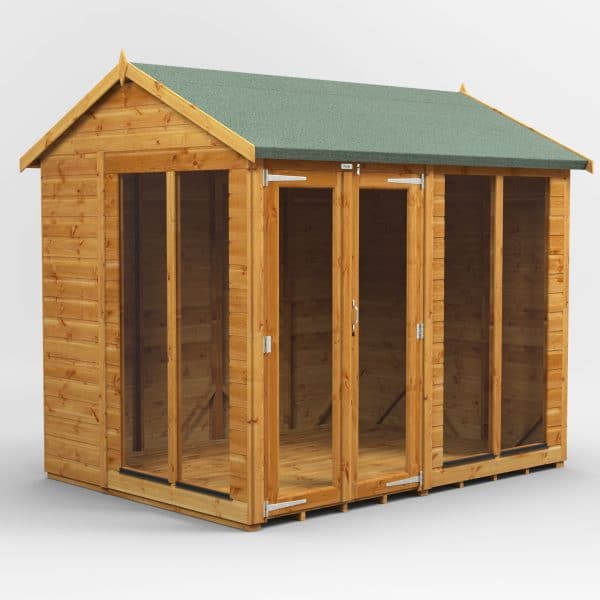
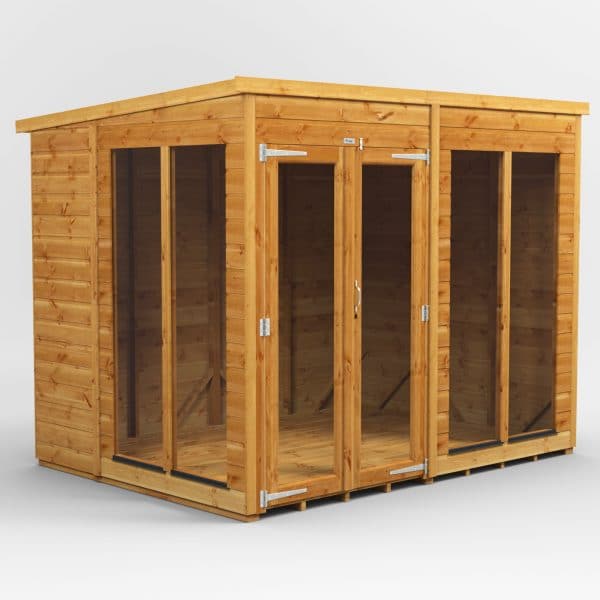
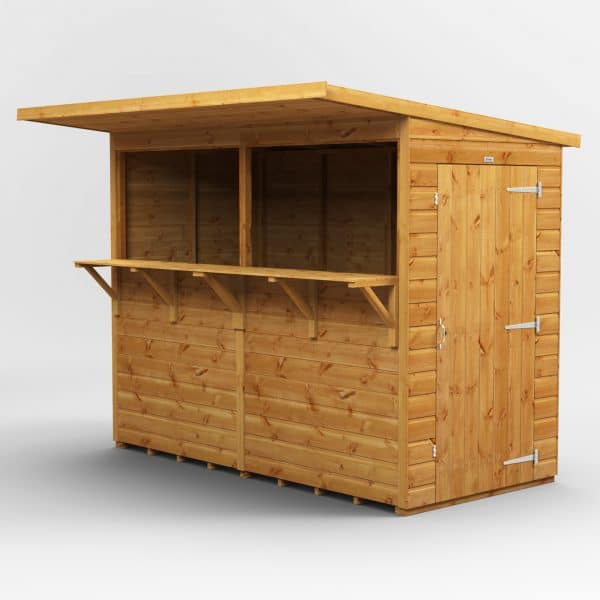
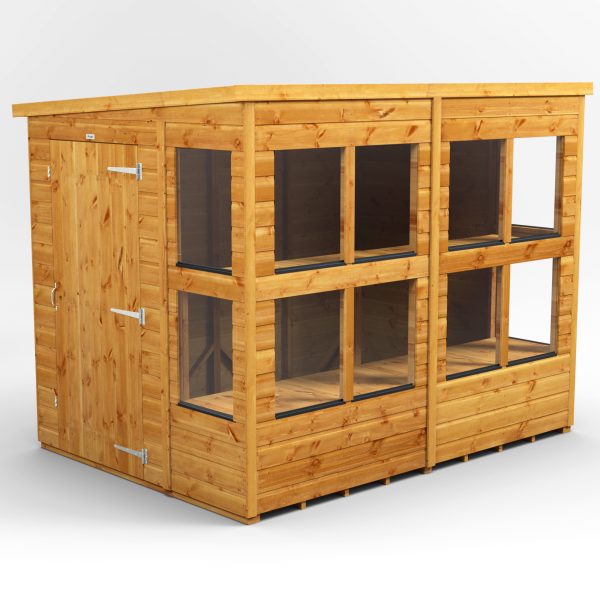
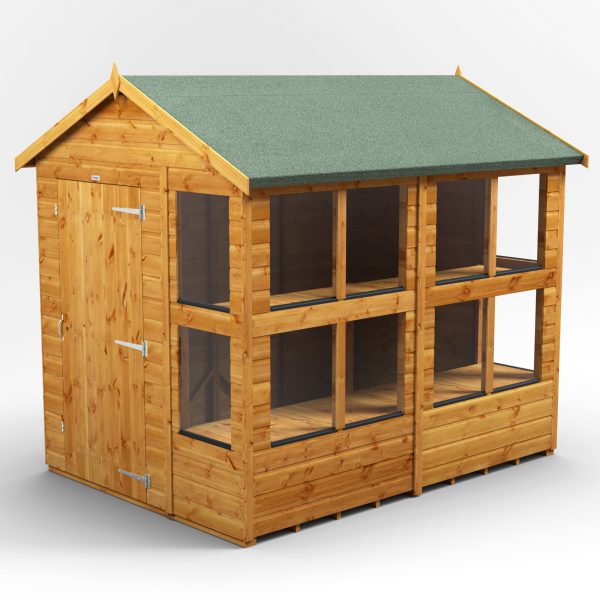
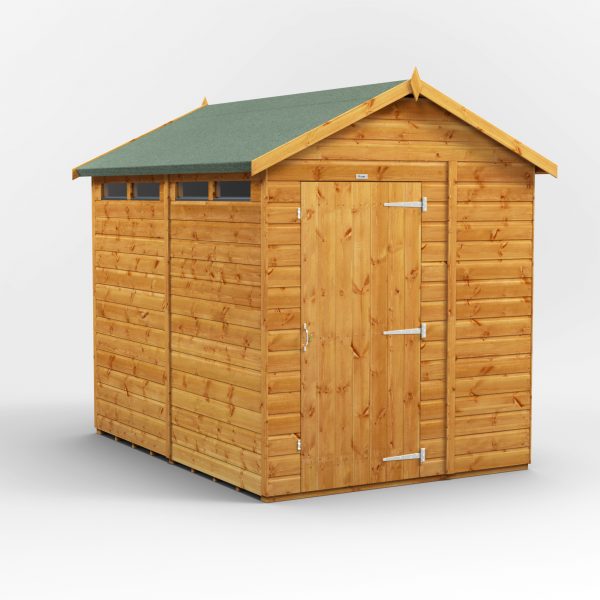
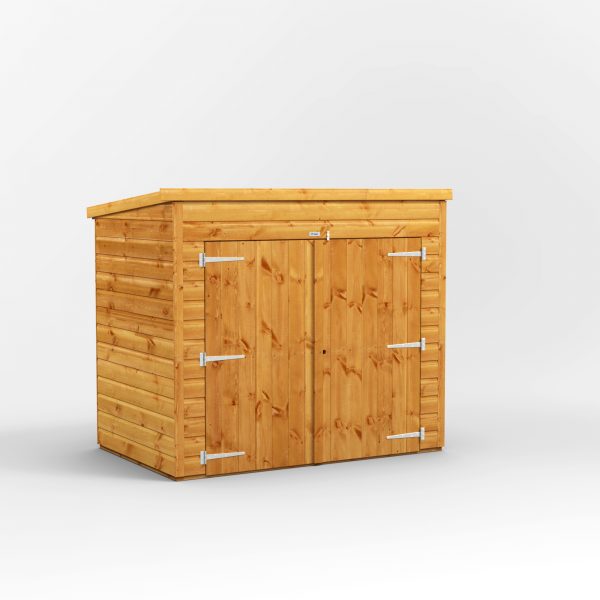
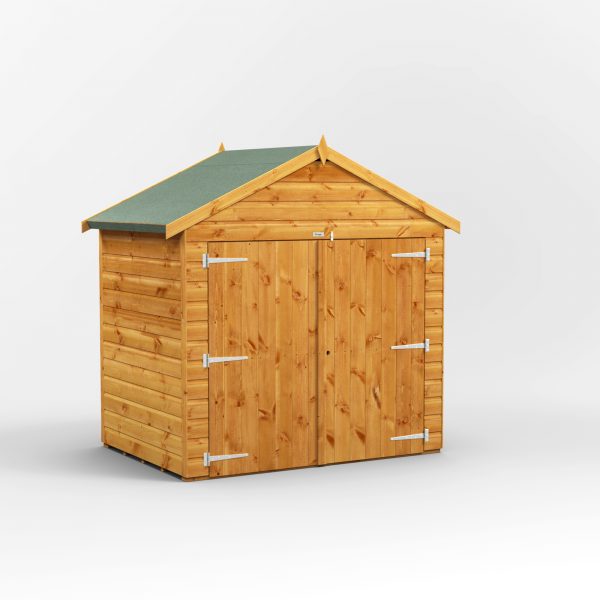
Need a garden retreat? Check out our range of garden sheds, from workshops to potting sheds.